Welcome to the first blog addition to The Treasuri!
And apologies in advance for my slap dash photography.
Part of the heart and soul of the Treasuri is our love of creating and personalising. But making something huge like a piece of furniture or mirror just isn’t possible! This is where upcycling comes in and it gives you the perfect opportunity to make something spectacular and completely yours.
So, when I came across this massive dark wood frame mirror, I knew had to do something to make it special. Enter… clay furniture appliques!
I thought clay was just for small craft projects and used by mostly children, boy was I wrong. With the help of beautiful moulds and a bit of paint, you can add character, add colour, and add personality to your home with furniture appliques that you make yourself. Isn’t that exciting?! I’m excited at least 🙂
For this tutorial, I’m going to describe and show you how to do two things:
1. How to make furniture appliques with clay and clay moulds
2. How to apply the clay appliques to a mirror as an upcycling project
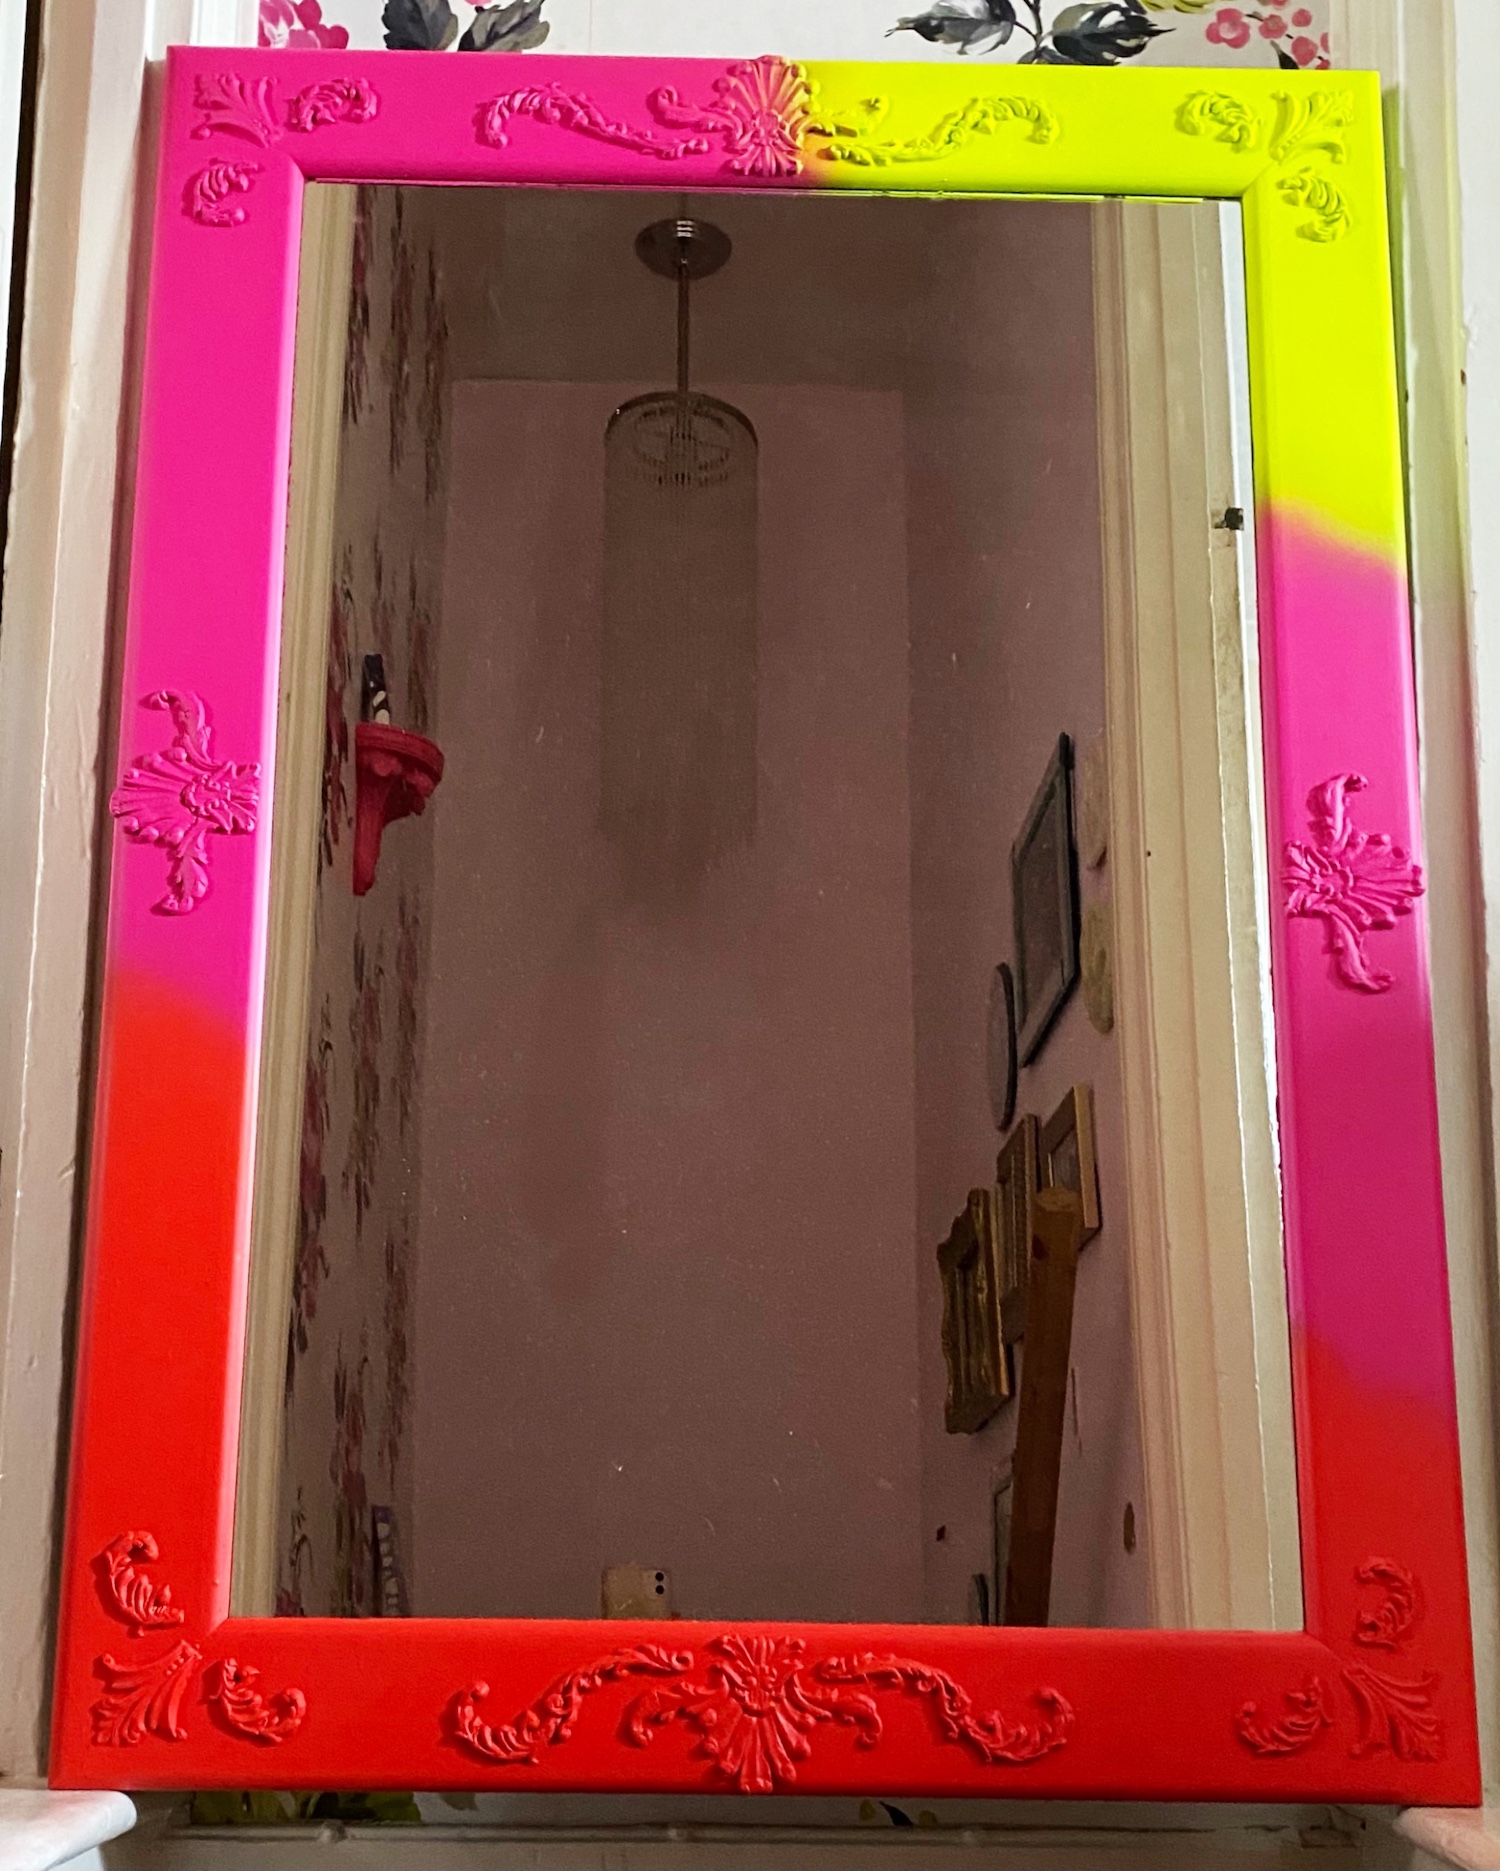
Check out my finished mirror below

Equipment you need to make furniture appliques:
- a piece of furniture, a mirror or absolutely anything that you want to upcycle.
- paper clay
- prima marketing or similar silicone moulds
- cornstarch
- dry paintbrush
- wood glue
- craft knife
- putty knife or wallpaper scraper
- masking tape
- primer
- paint, depending on the type of project you have
Step One: Planning
DO NOT OVERESTIMATE THIS STEP
One thing I can tell you is that not planning properly can lead to mistakes or errors, even small ones. I didn’t plan my upcycle very precisely and now all I can see is how uneven and not central the appliques are on my mirror. If I measured before I dove right in, this wouldn’t have been a problem. So, learn from my mistake!
Your first step is to plan out your project. This includes choosing your moulds, where you are placing the furniture appliques, the colour you want to paint, and the finishes you want. You have full creative freedom here to go wild and come up with whatever style and design you want.
Step Two: Prepare your moulds
Before you can dive in and sart making your clay furniture appliques, there is some small prep to do first.
Firstly, brush your mould with cornstarch. This prevents the clay from sticking and helps you when de-moulding. If you miss this step, the paper clay will stick and getting out will be such a pain that you could lose all of the beautiful details.
Secondly, knead your clay. I recommend using paper clay as its of high quality usually for artists. Paper clay air drys and has a beautiful texture that makes it perfect for furniture applique moulds. Kneading your clay is essential to make it warm and ensure that it can be pushed into the mould effectively. If you miss this step, your appliques may lack detail and a professional finish.
Step Three: Making the furniture appliques
Now the clay is all warmed up, you’re ready to go!
Roll it into a ball or sausage depending on your mould shape and begin pressing it into the mould. You can be quite firm with this step so that the clay reaches all parts of the mould and has the impression of all the details. From here you have two options:
- de-mould now and cut away excess
- cut away excess on the back whilst in the mould
I chose option two as I worried that I might ruin the edges of the applique with my heavy-handed cutting. So, I grabbed a wallpaper scrapper to remove the excess clay from the back of the applique. Be careful here as scraping can pull the clay away from the edges of the mould and you lose the shape. In the end, I sort of saw the clay off. I’m sure there is probably a better way to do it and if you know, let me know in the comments!
Step four: De-moulding your furniture appliques
My favourite part of making your own furniture appliques for upcycling is de-moulding and seeing the applique. These moulds are made of flexible similcon to make it easier to de-mould. The best way to do this is flip it upside down and begin pushing the clay out whilst folding the mould away. Be careful to not accidentally press on the applique with the mould or you will ruin all your hard work and might have to start again.
You can see how I de-moulded my furniture applique below

Step five: Apply wood glue and place
Squeeze on some wood glue onto the back of your clay applique. Spread the glue to all edges with your finger or a brush and place it in the intended place. You can also place the applique down, fold over the clay to glue one half and place it correctly and repeat on the other half. I found this technique easier with some of the larger appliques to avoid warping the shape when placing it. Make sure all sides are pressed down firmly to avoid gaps once they’re dry.
Having the piece flat will be easier to avoid any sliding out of place of your appliques. Use masking tape to secure the applique in place but remove it in a few hours as it stopped my clay drying. Also, you don’t have to be too gentle or scared to handle the clay. They can take some movement and won’t lose their shape.


Step six: Painting and finishing
Firstly, prepare for painting with primer. Primer is always a good idea to have the best adhesion for the paint. It’s also a good idea to to ensure your base is all the same colour so that final colour is even. You can see that my mirror frame is very dark compared to the light paper clay which could affect the final product.
Now you’re ready for painting! We love using spray paints but you can use any paint you like and that is appropriate for your project. For example, if you’re doing furniture, you can use chalk paint. If you’re doing a mirror upcycle project, make sure to securely cover the glass to avoid getting paint on there too.
And paint! My neon paints took 3-4 coats until I was happy with the finished colour. Make sure to let the layers dry fully before recoating with paint.
Add your finishing touches like you would any other project. This includes adding furniture wax, dark wax to highlight the appliques or gold accents for the furntiure appliques too. Again, you have full creative freedom to do whatever you want and that’s what I love about these projects


You’re all done!
I love how unique and one of kind my mirror is now compared to anything I’ve ever seen. Simply adding furniture appliques and fun paint can make the biggest of difference. I want to see your creations too so share them in the comments 🙂

